


Summary
Framer is a versatile no-code/low-code tool used by many to build websites without any hassle of learning frontend or how to code. It provides users with an intuitive interface and a variety of design tools, allowing both beginners and professionals to create visually appealing and responsive websites.
Although it is somewhat of pain to host a framer website for professional purposes
- It askes you to have a permium plan to host with a custom domain.
- Framer demands you to have a permium plan in order to remove their nasty
 tag
tag
Luckily … I’ve found a way to by pass the premium requirements so that anyone can host their framer app for free. Lets dive into it.
How to host your framer app for free
If you’re a seasoned devops engineer I’d suggest you to move past the next 2 steps and directly start with main steps
1. Complete building your framer app
- Select a free template
- Make changes to it as per your need
- After you’re done making changes… click on the publish button

- framer will generate a random domain like
some-random-word.framer.appand host your application on it - when you click on the link you’ll be able to see your application live with a tag
2. Buy your custom domain and setup your cloudflare account
- after you’re done setting up your cloudflare account, copy your Cloudflare Nameservers
- buy your custom domain from either GoDaddy or NameCheap or any other website of your preference, for this tutorial I’ll move forward with GoDaddy.
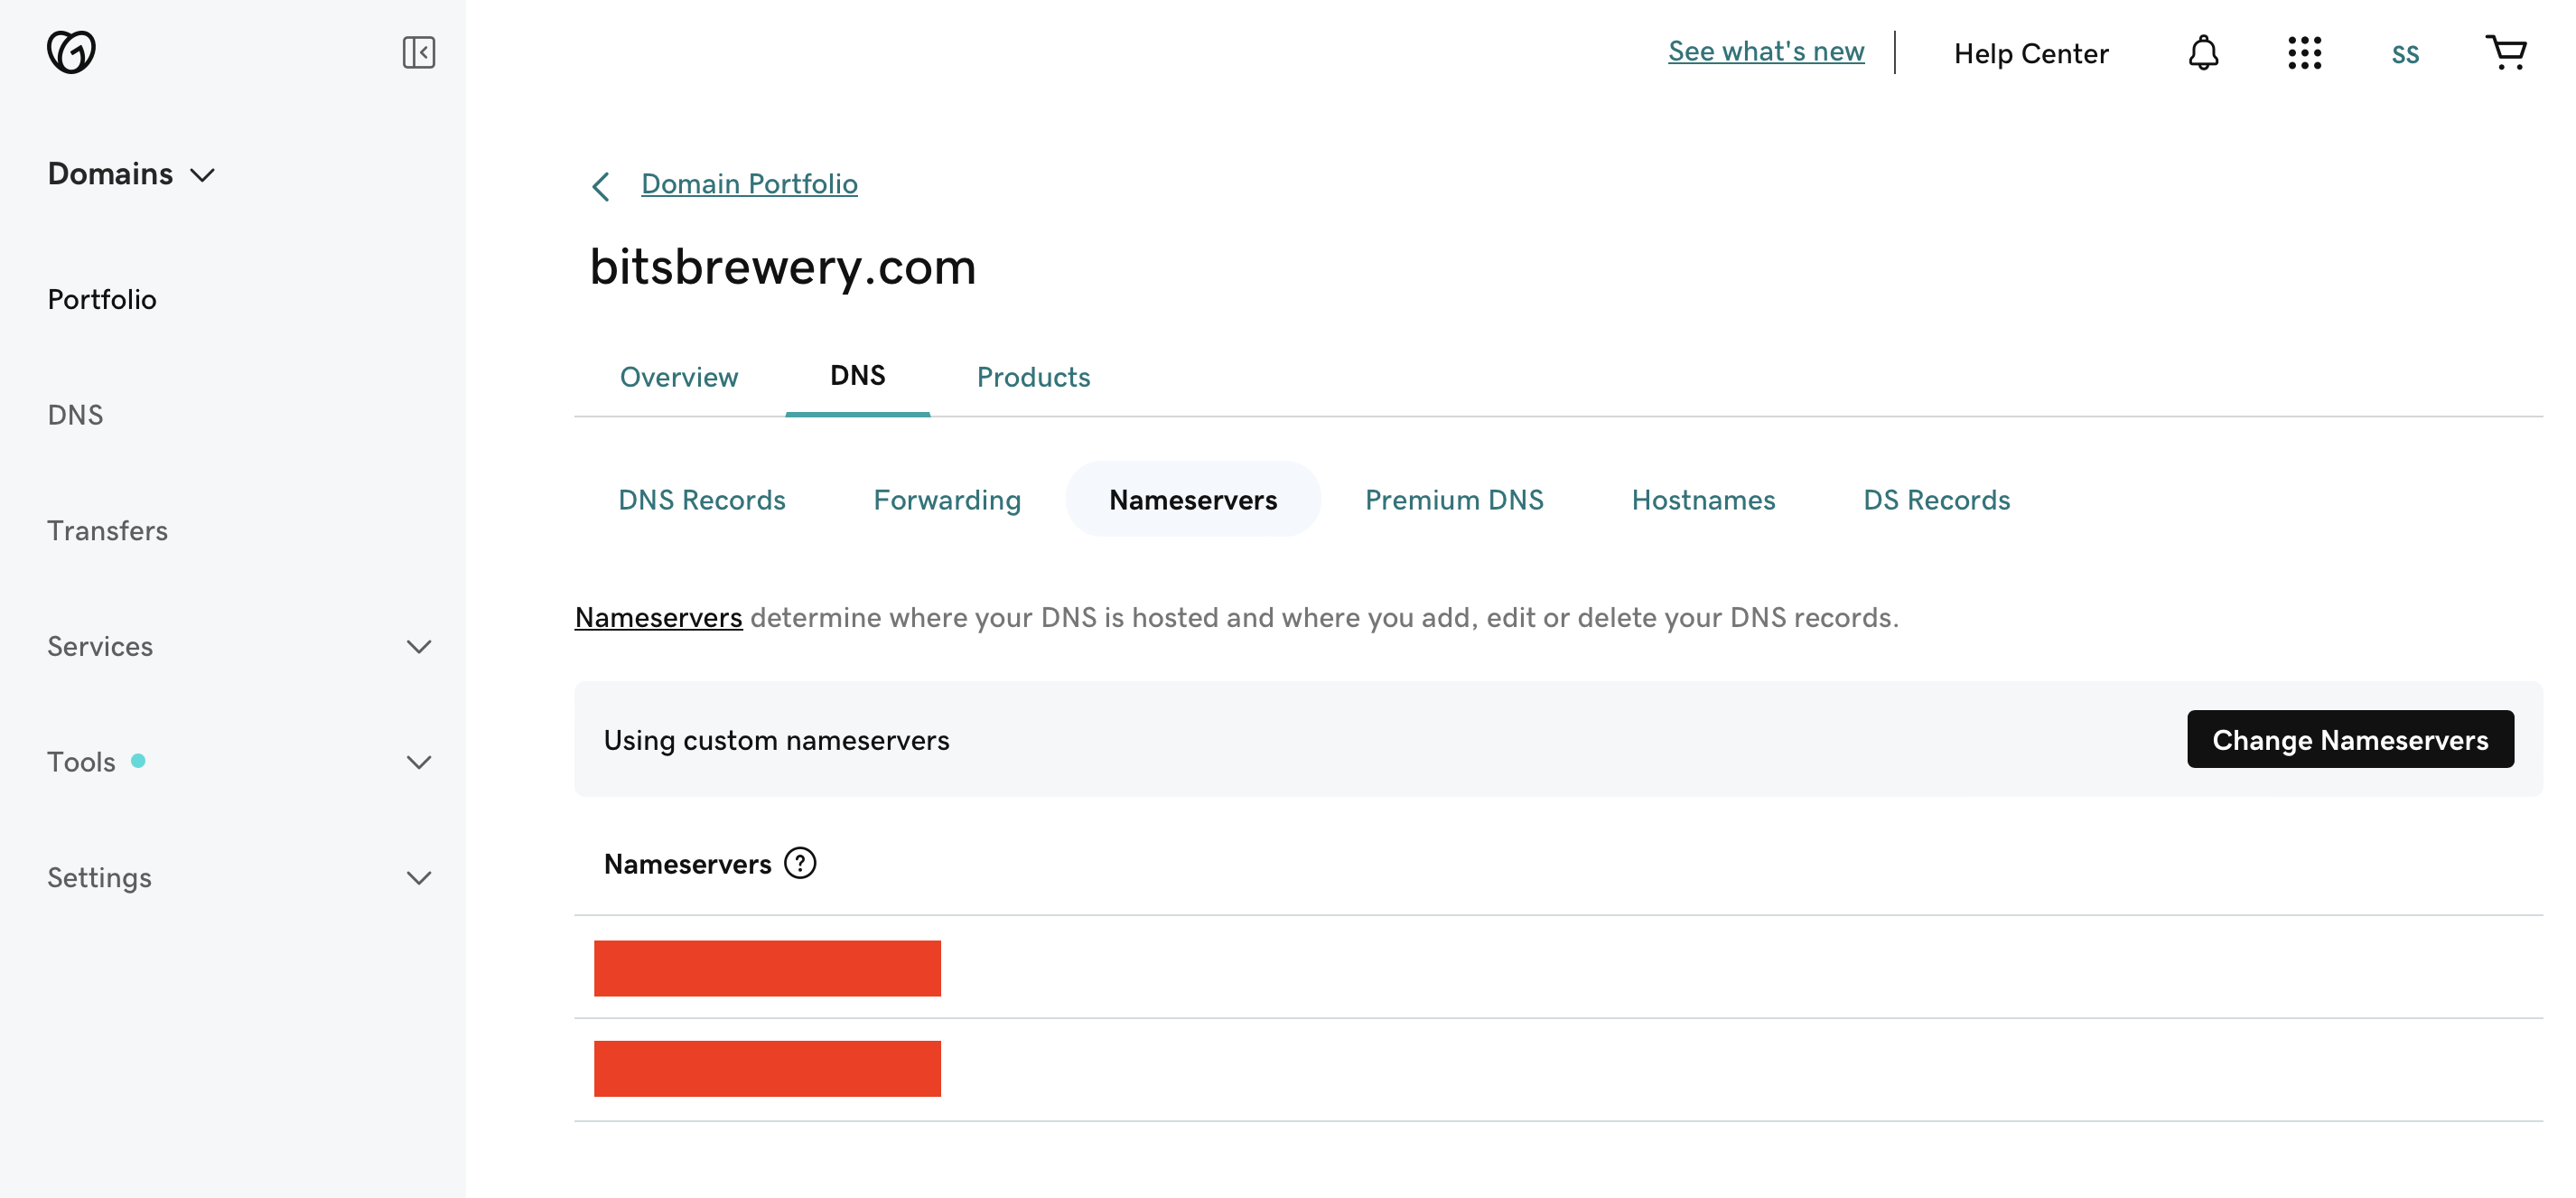
- search you preferred domain, buy it, and then go to my products and then click on your newly bought domain.. in my case it is bitsbrewery.com

- delete all the existing dns records and copy your domain name (in my case its bitsbrewery.com)
- setup your cloudflare account. If you find any difficulties doing so, follow this tutorial link
- after your cloudflare account is all setup .. click on
"Add a Site"and paste your domain
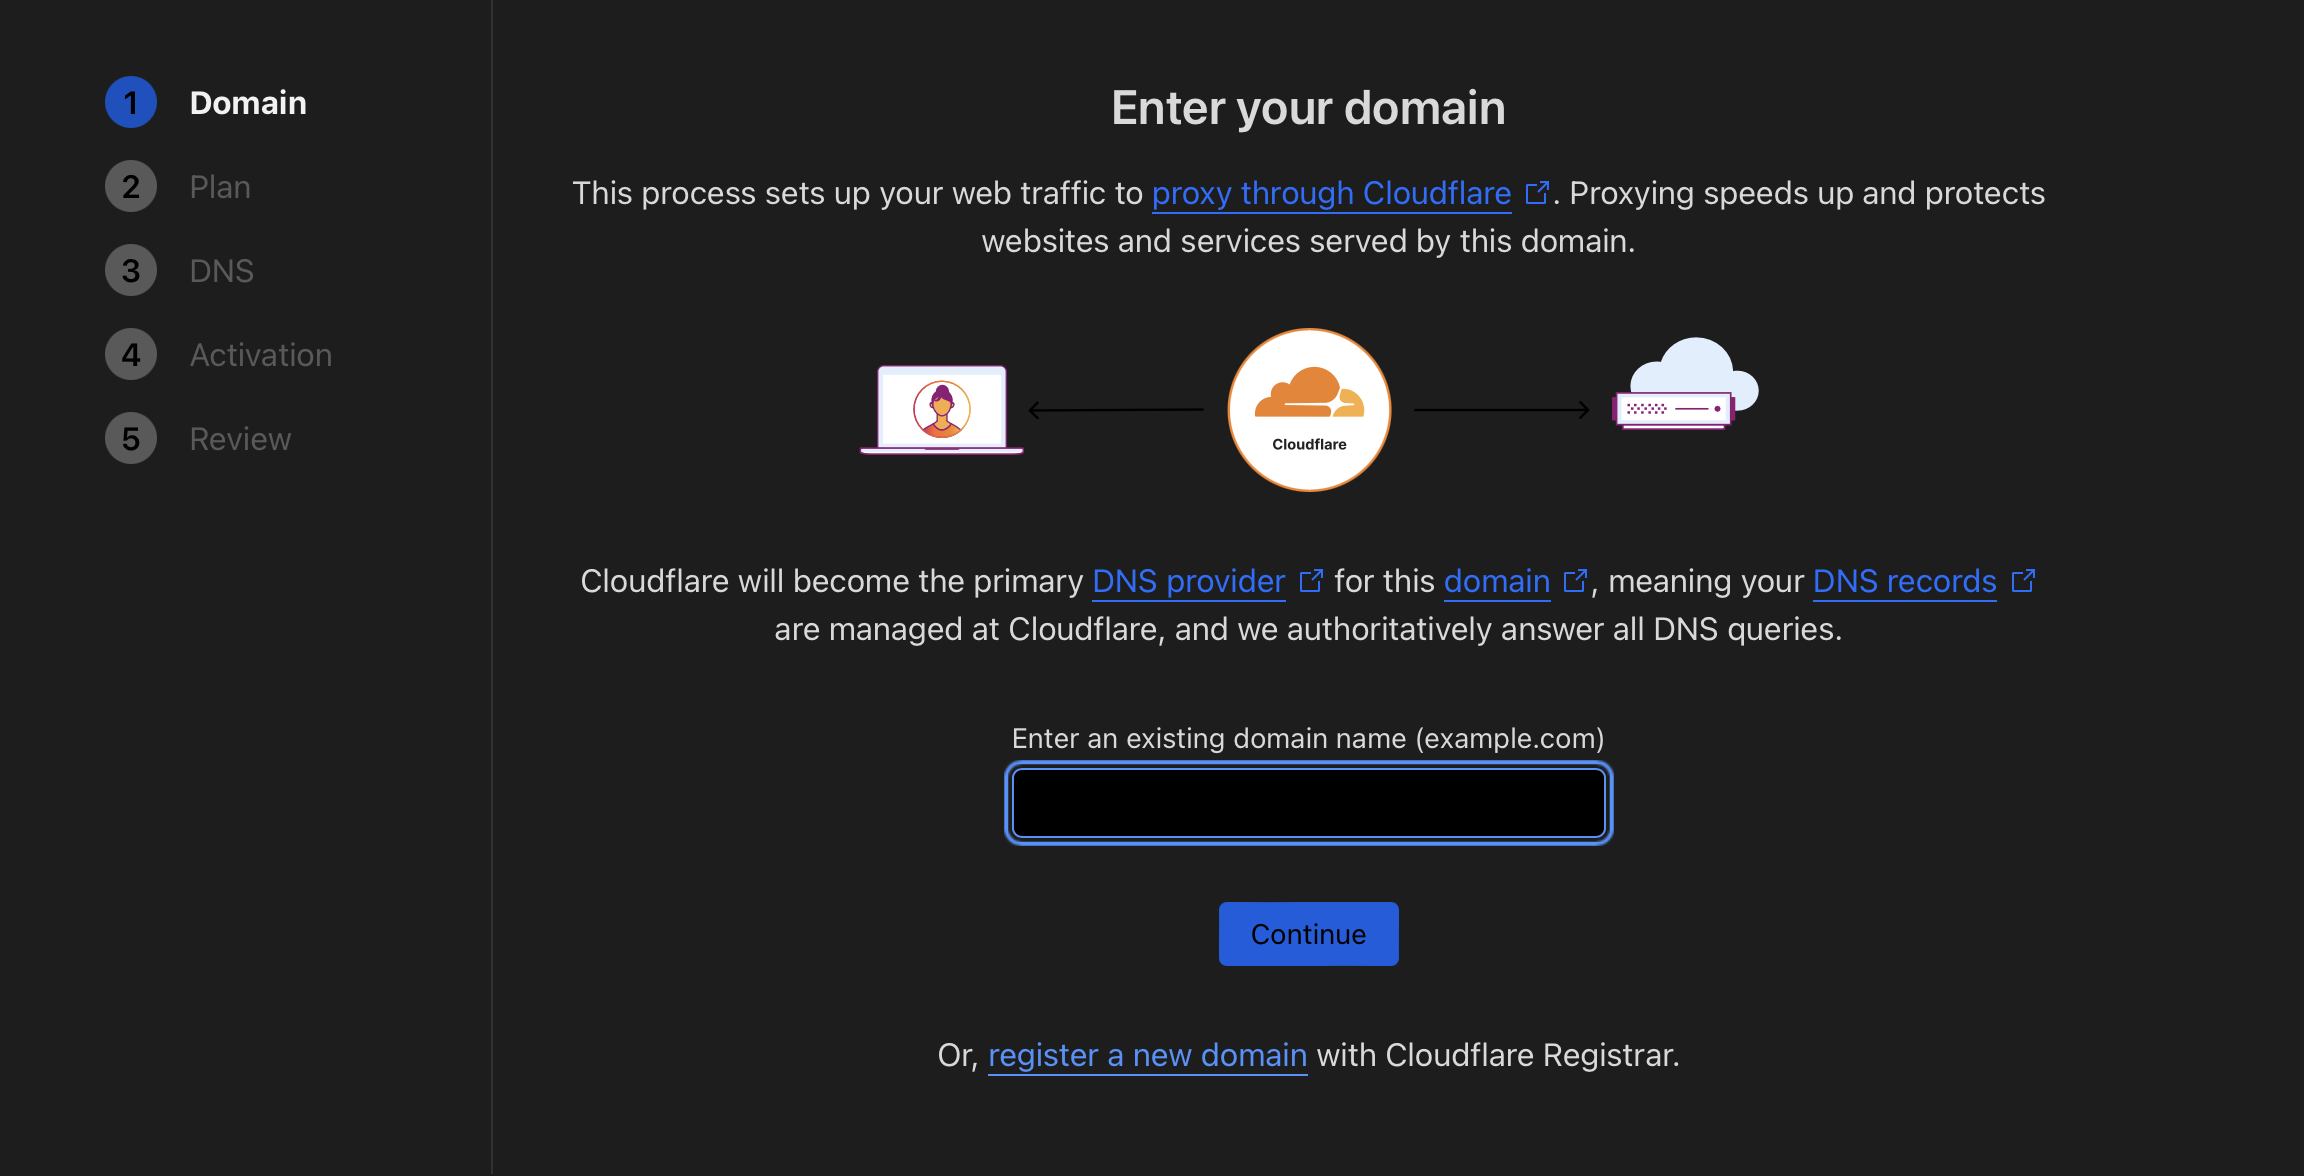
- select the free plan at the bottom and clear all the dns records added by default
- copy the Cloudflare Nameserver and update them at godaddy
PS: I know this all is a bit overwhelming and a bit difficult to grasp... but if you'd like video tutorial.. follow the link below .. but make sure to exempt the step of setting up dns records (instead delete all the records)
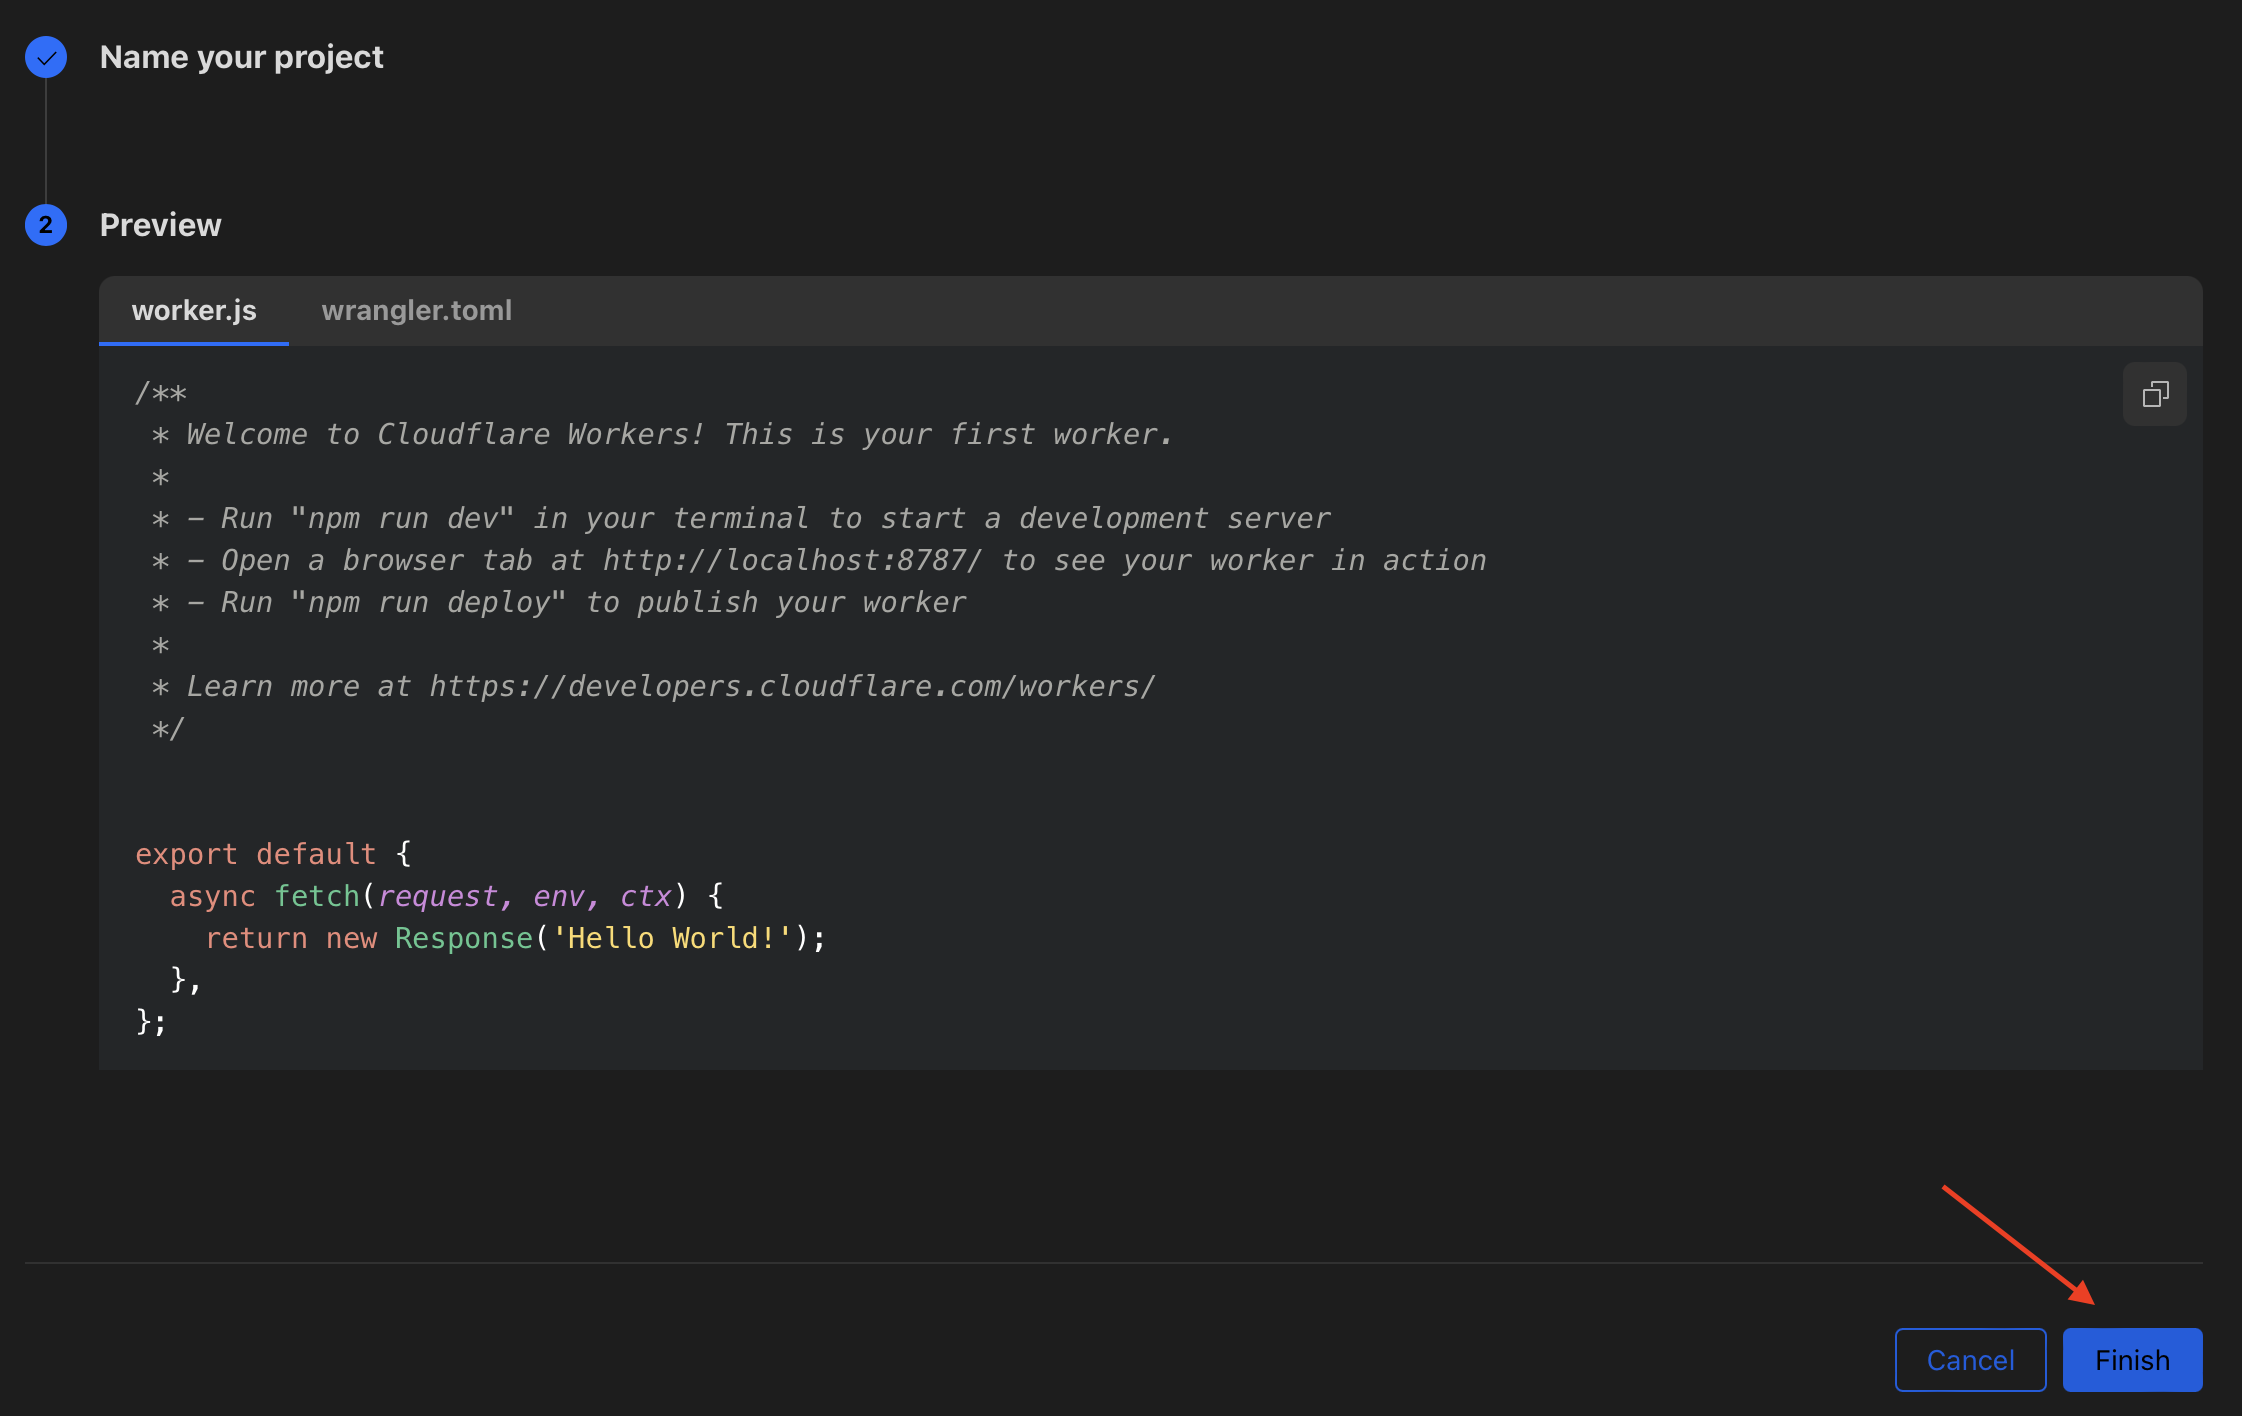
3. Main steps to host your framer application for free on your custom domain
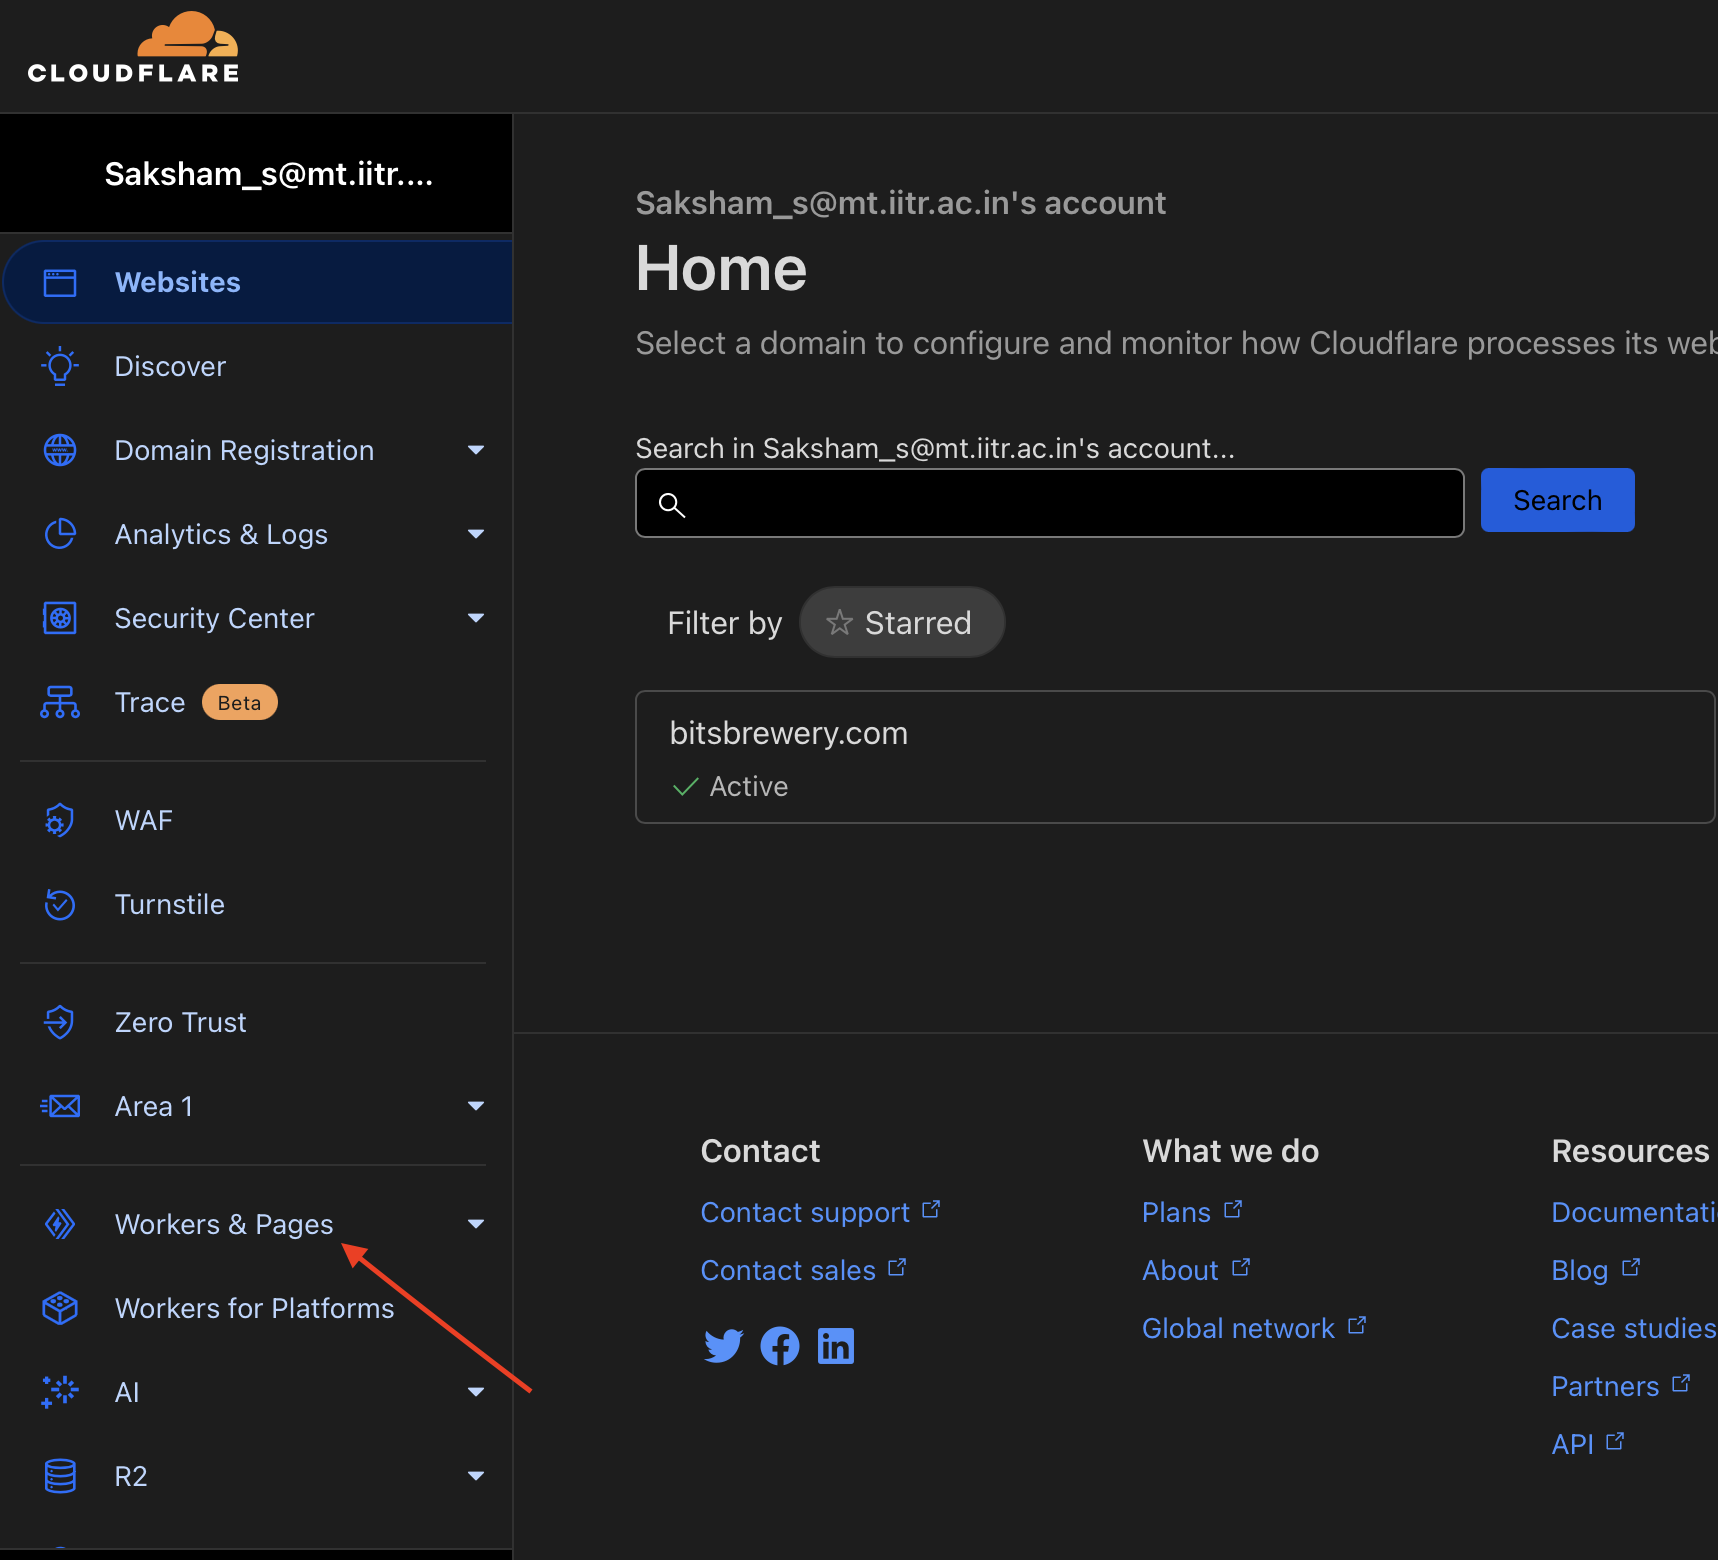
- Navigate to workers and pages
- Create a new Worker by clicking on create worker


- Name your worker
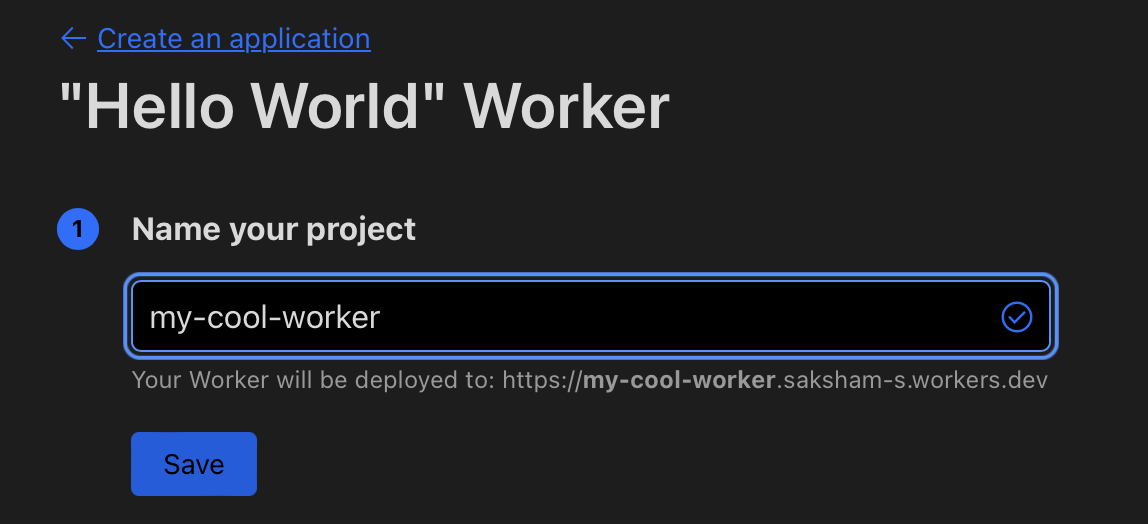
- Click on finish
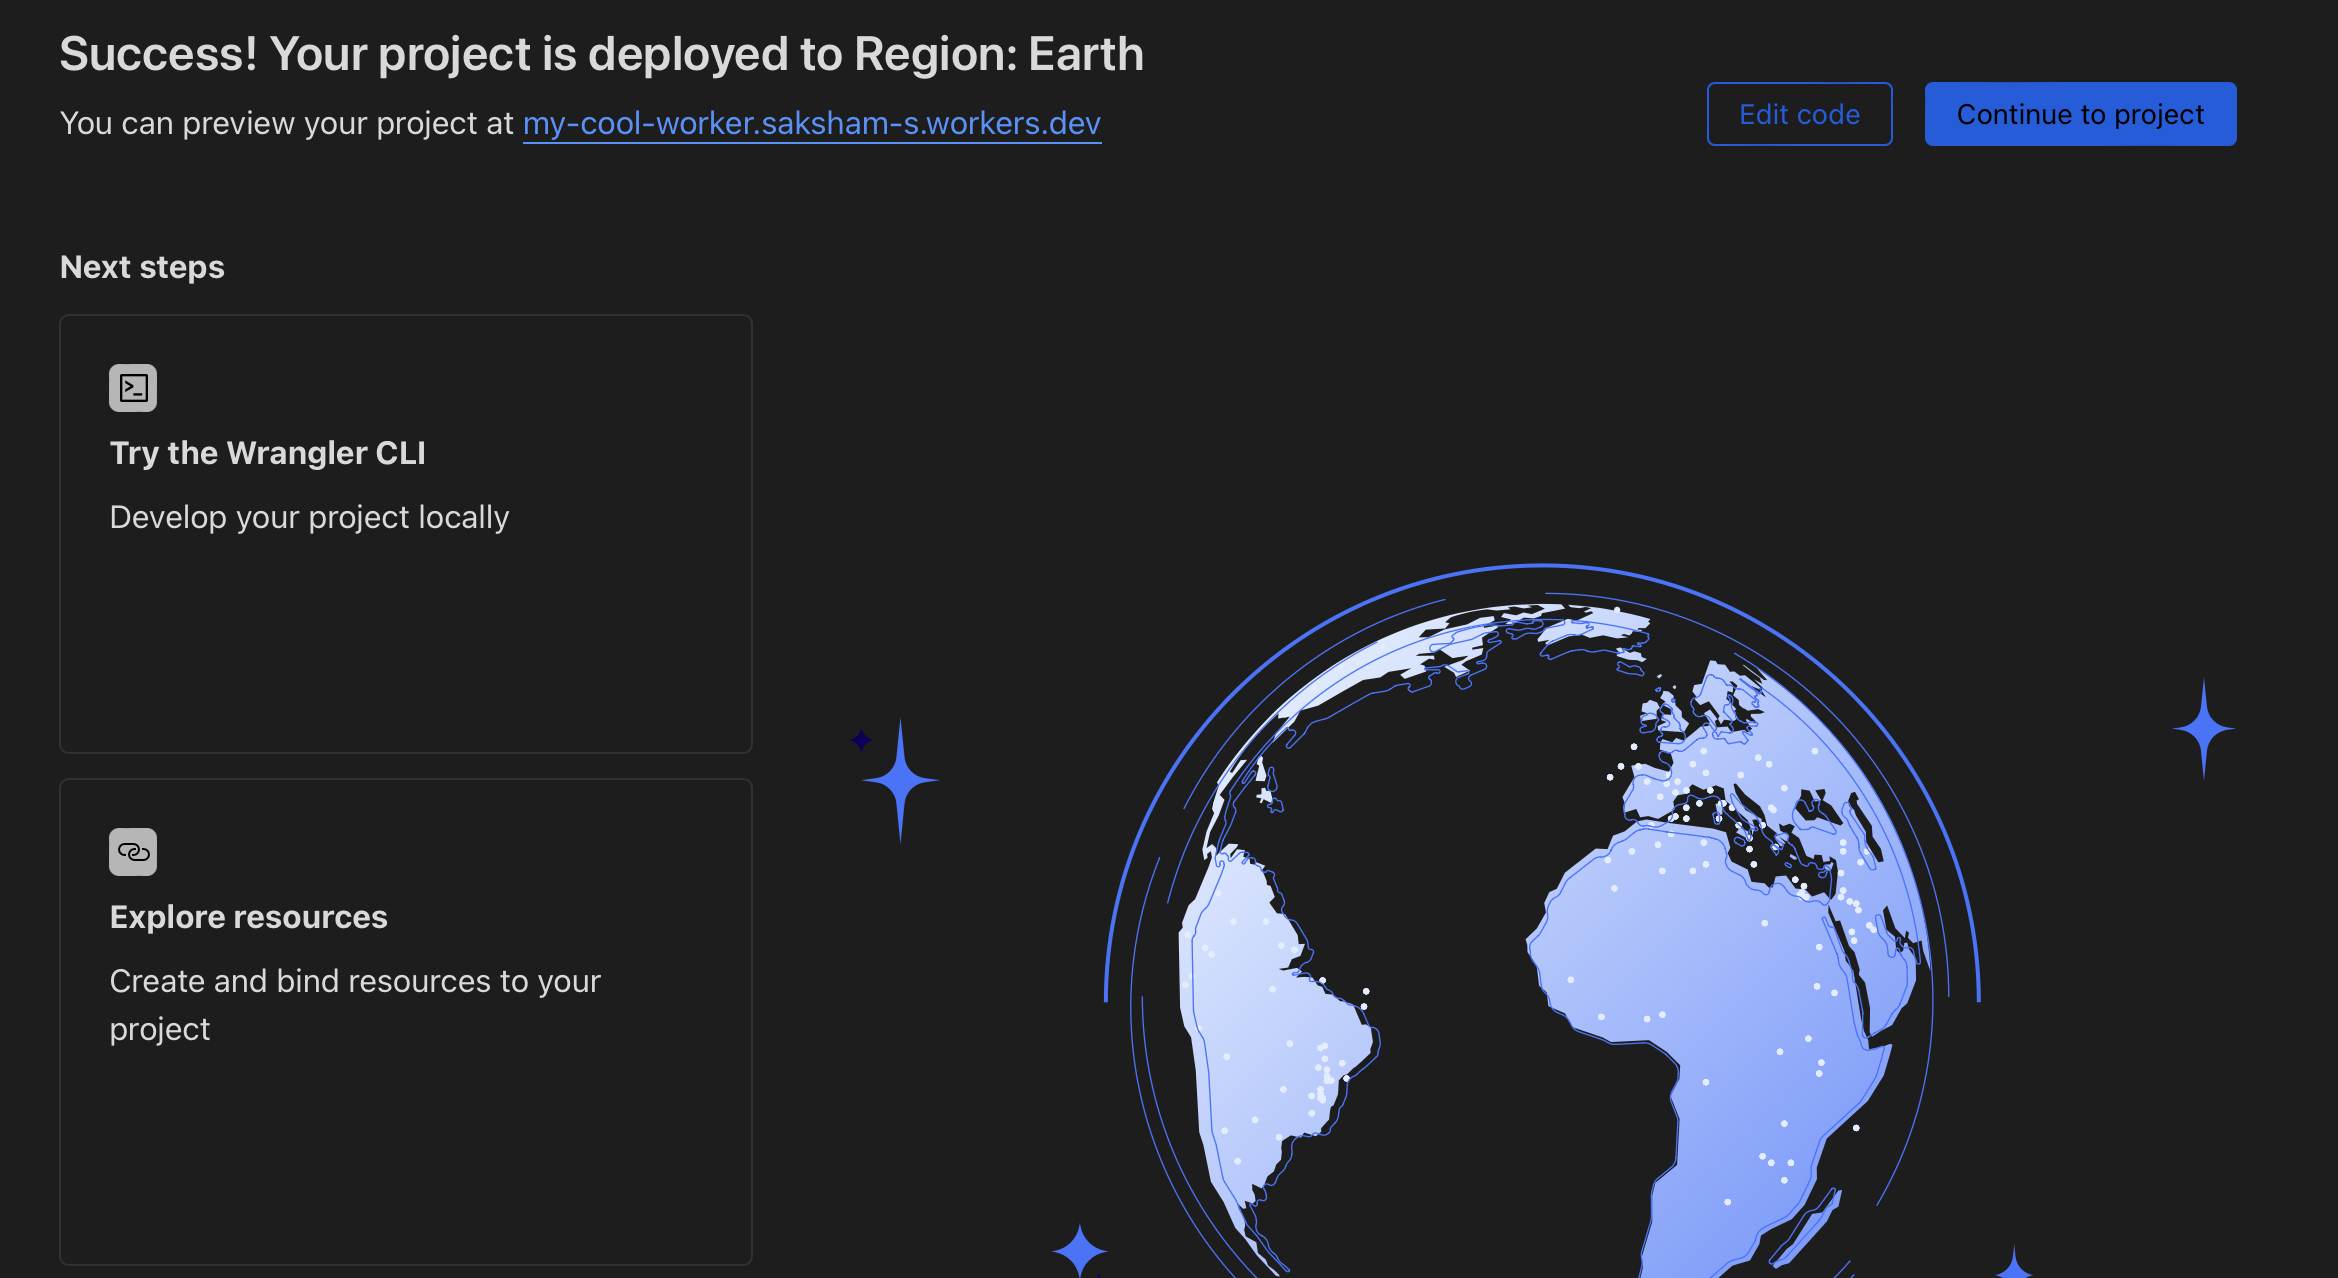
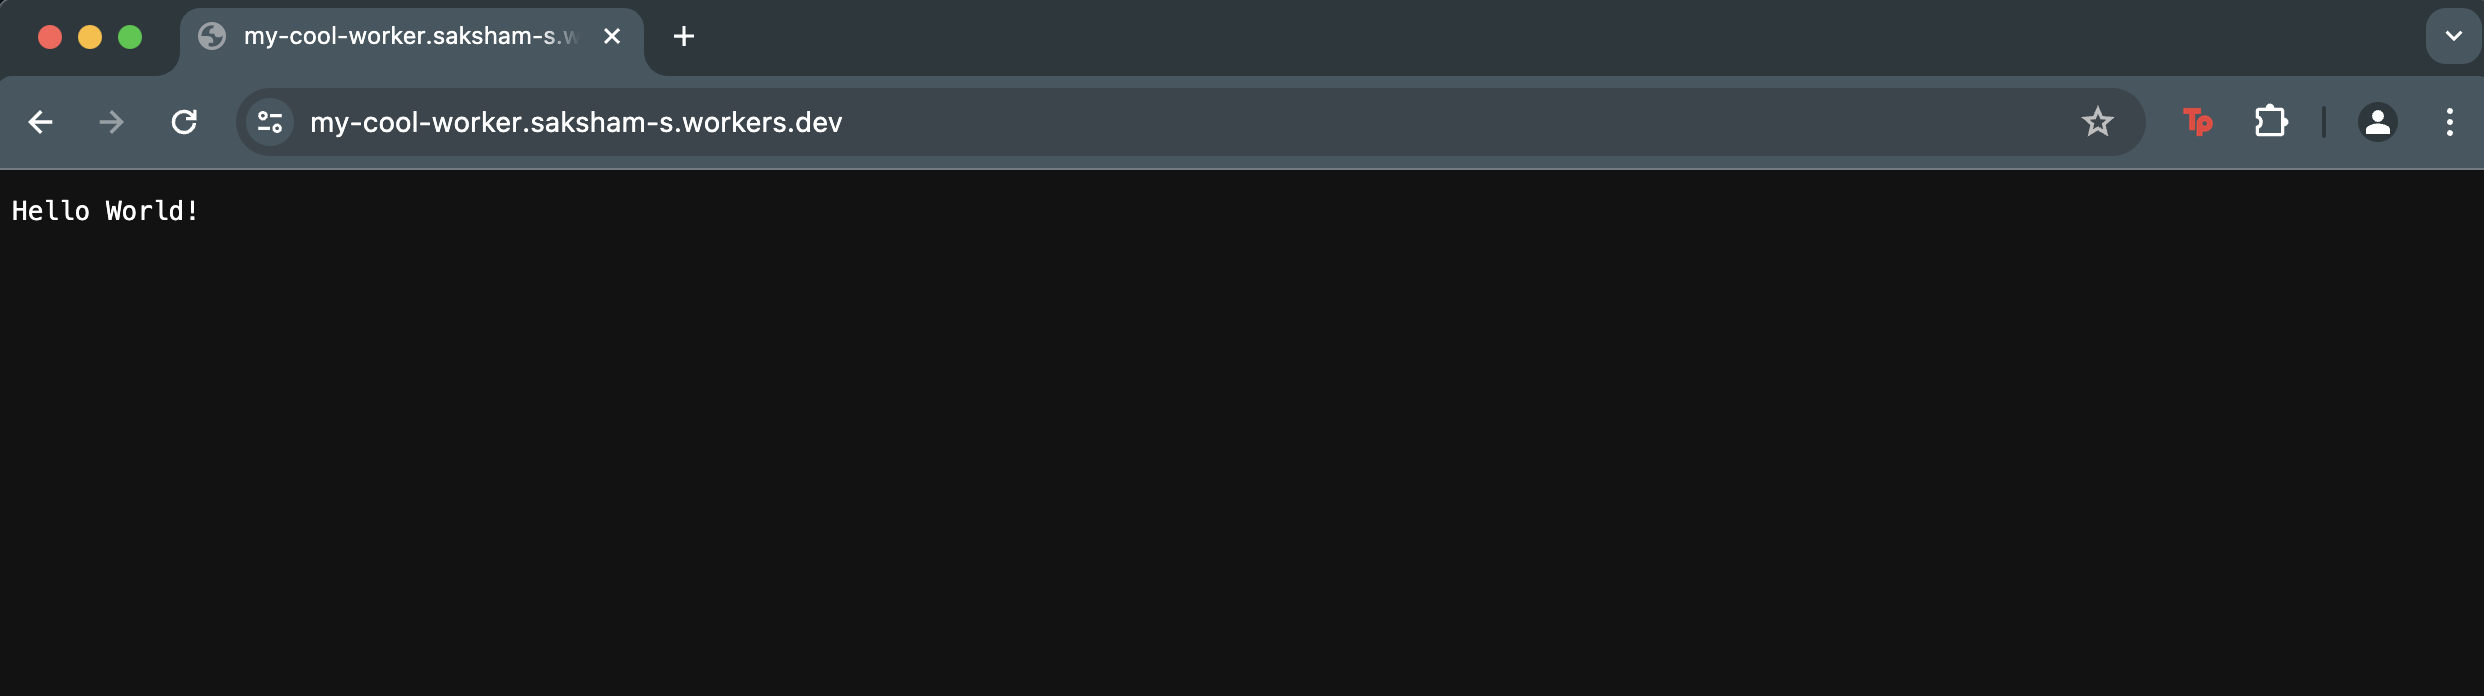
- You’ll land up on the screen below(left). Now if you click on the link for your worker .. you’ll land up on a hello world page as shown below(right)
- Click on edit code and paste the code below .. once you do it click on deploy
export default {
  async fetch(request, env, ctx) {
    try {
      // Step 1: here request.url will be our trigger (will be adding it in the next step)
      const url = new URL(request.url);
      const path = url.pathname; // This gets the path of the request

// Step 2: Setup the Target URL from which we'll fetch html content
      const targetUrl = `https://some-random-word.framer.app${path}`; // this is generated in step 1 of How to host your framer app

// Step 3: Fetch the Page
      const response = await fetch(targetUrl);
      let content = await response.text(); // Assuming the content is HTML

// add this in order to remove that ugly build with framer tag
const cssToHideBadge = `<style>#__framer-badge-container { display: none !important; }</style>`;
      content = content.replace('</head>', `${cssToHideBadge}</head>` );

// Step 4: Respond with the HTML Content you received from framer
      return new Response(content, {
        headers: {"Content-Type": "text/html"}
      });
    } catch (e) {
      // Handle any errors if any .. dont worry.. just a normal fail safe
      return new Response('An error occurred: ' + e.message, { status: 500 });
    }
  }
};- As a final step move to triggers in settings and add custom domains as trigger (I’ve added www.bitsbrewery.com and bitsbrewery.com).

Hope It worked for you
If you find it Helpful, your welcome :) .. if not.. please let me know what I could’ve done better or may be get in touch if you have any doubts